

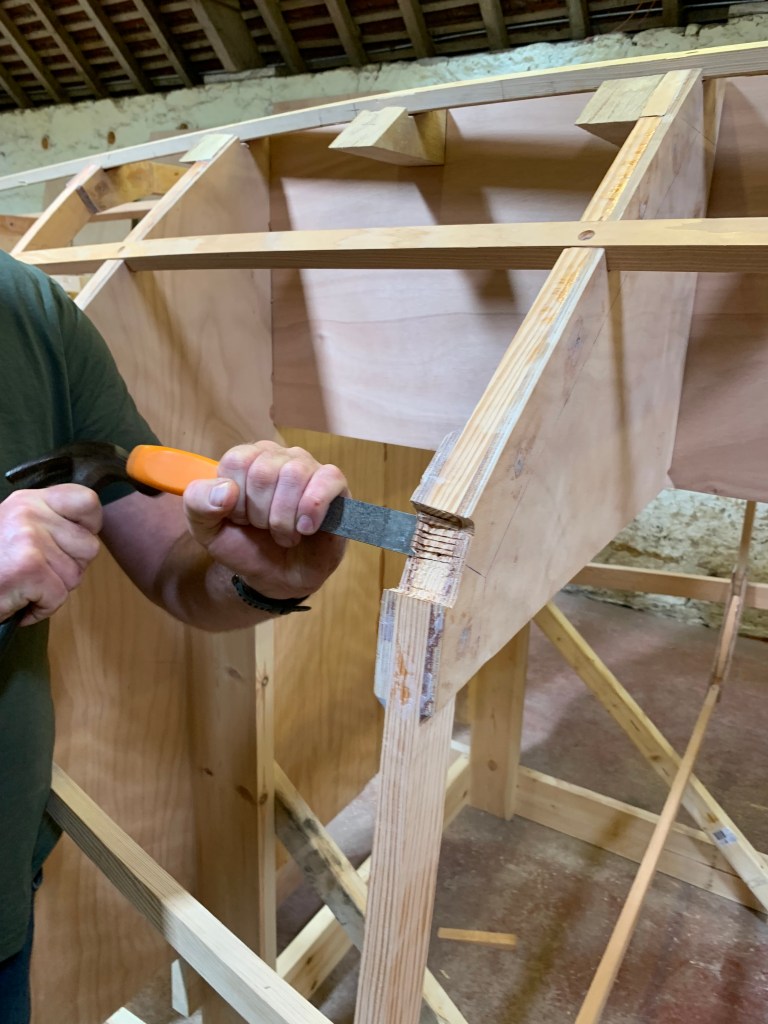
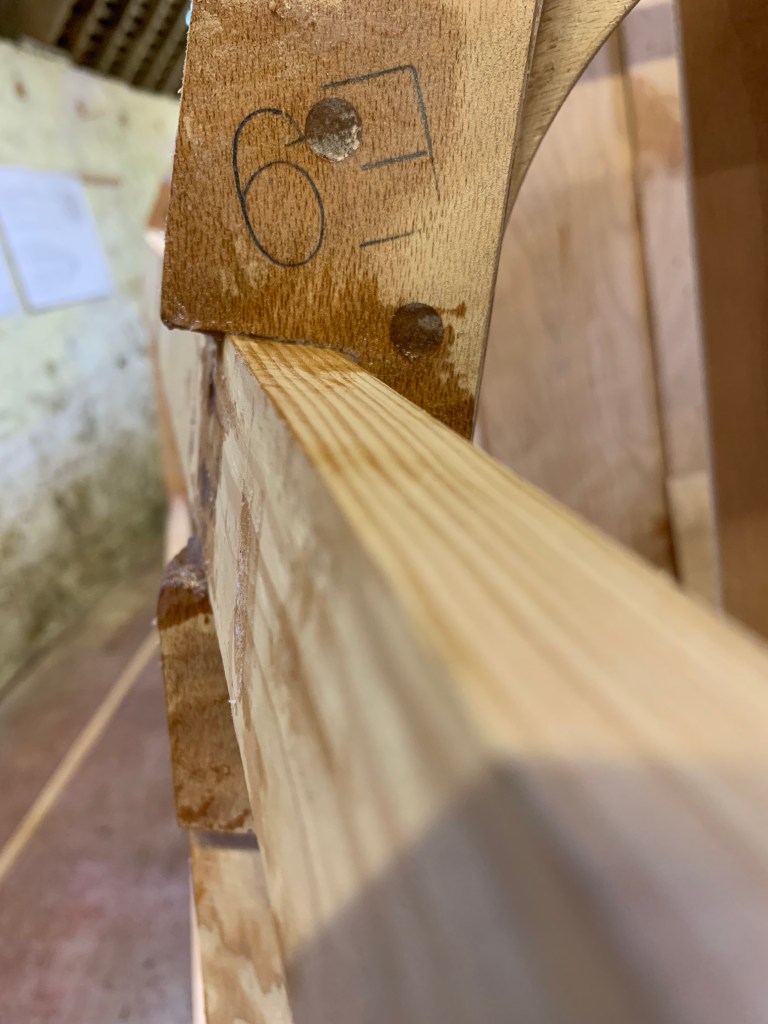
“Letting in” the stringers took a long time. A hammer and chisel proved to be the best technique.


Builders
Notes
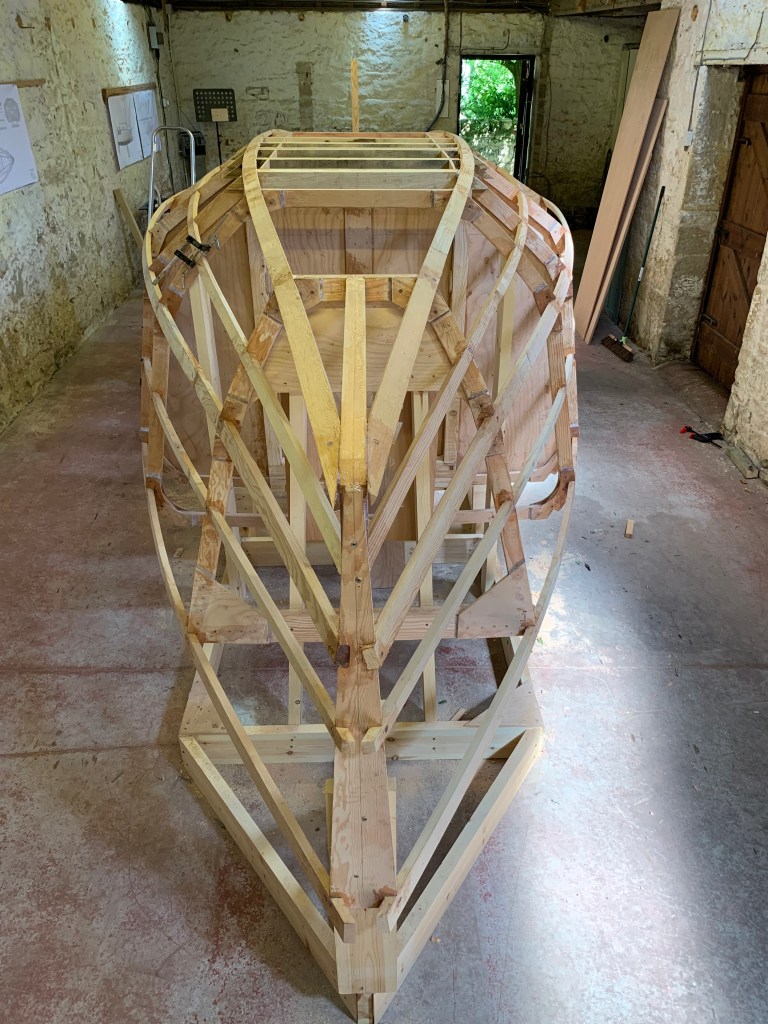
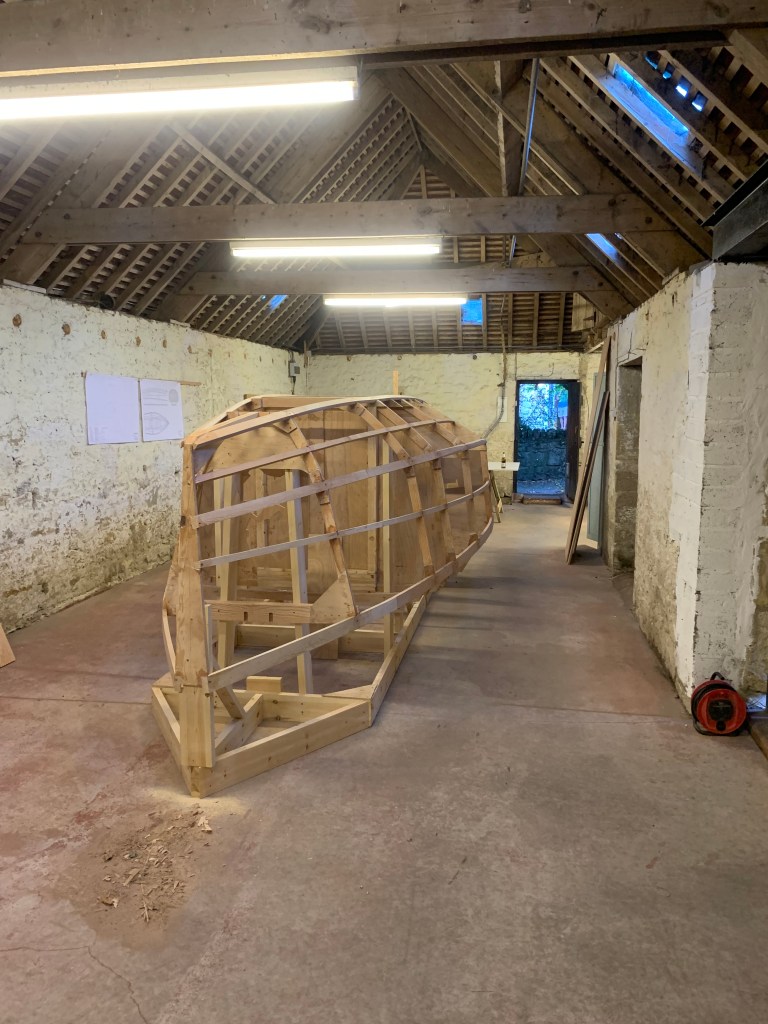
I had help from my good friend Monk with this section. He stayed for a week and we were at it non stop for 6 long days. The jig took a day to put up. We measured and measured and screwed the base to the workshop floor. We used a laser level to keep us right regarding vertical and horizontal angles.
Initially we started fitting the stringers from the top (bottom of the hull) but found that very difficult. We then worked from the bottom upwards, fitting one stringer each side. This helped keep rigidity and proved to be much easier. We hadn’t realised how much “letting in” was needed on the forward few frames. That took a long time and meant we had about six dry fits before we eventually got it right. It was a long process with hammer and sharp chisel. I decided to fit the 5 oak floor beams at this stage and they also took a while to notch out.
If I had to do this part of the build on my own it would have taken weeks and weeks. Thanks Monk!

Leave a comment